The “How-To” That Let’s You Customize Your DIY
#DIY
.
.
.
.
.
.
.
.
.
.
.
.
.
.
.
.
.
.
.
.
.
.
.
.
.
.
.
.
.
.
.
.
.
.
.
.
.
.
.
.
.
.
.
How To Add Graphics
With This EASY Wax Paper Transfer
This week we’re switching things up a little. Instead of talking about how to create one specific project, we’re going to talk about a technique that has endless possibilities.
Wood signs are super popular- everyone from Walmart to Pottery Barn is hocking these bad boys.
The other day, I was walking through Target and from far away, spotted a really cute wood sign. Naturally, I pushed aside anyone and everything that stood in my way as I made full-sprint to the display. You can imagine my disappointment when I got there and the wording on the sign was… well, it was just plain dumb. As I walked away empty handed and full of shame, all I could think about what how badly I just wanted to change the wording. It would have been perfect if it didn’t say “down the hatch”.
When I stumbled across this SUPER SIMPLE How-To from 2 Bees in a Pod I was stoked.
I know I say these DIY’s are simple every time, but this one really is extremely easy.
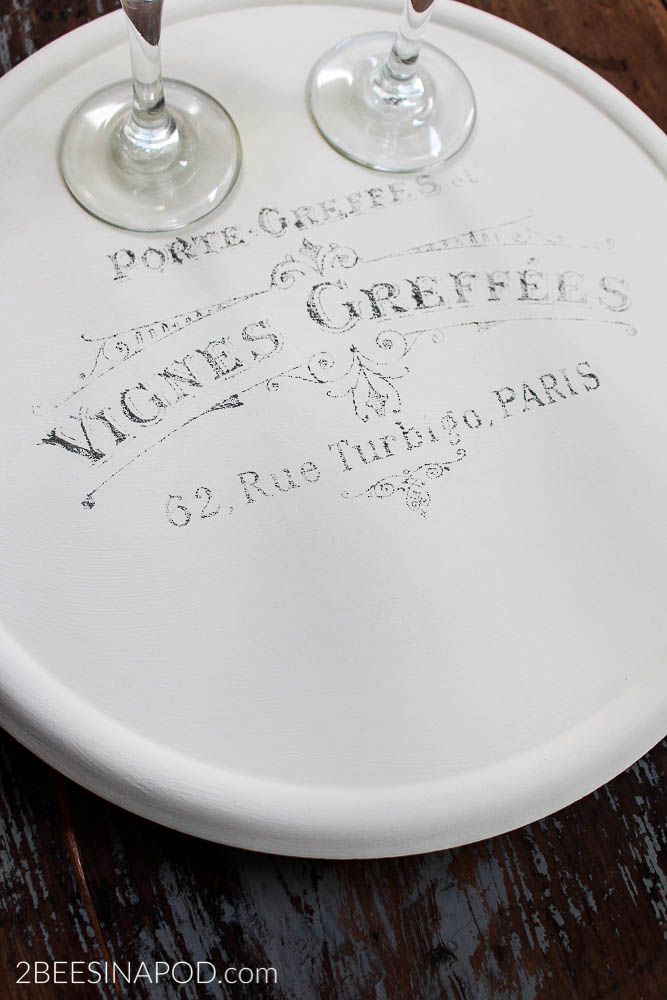
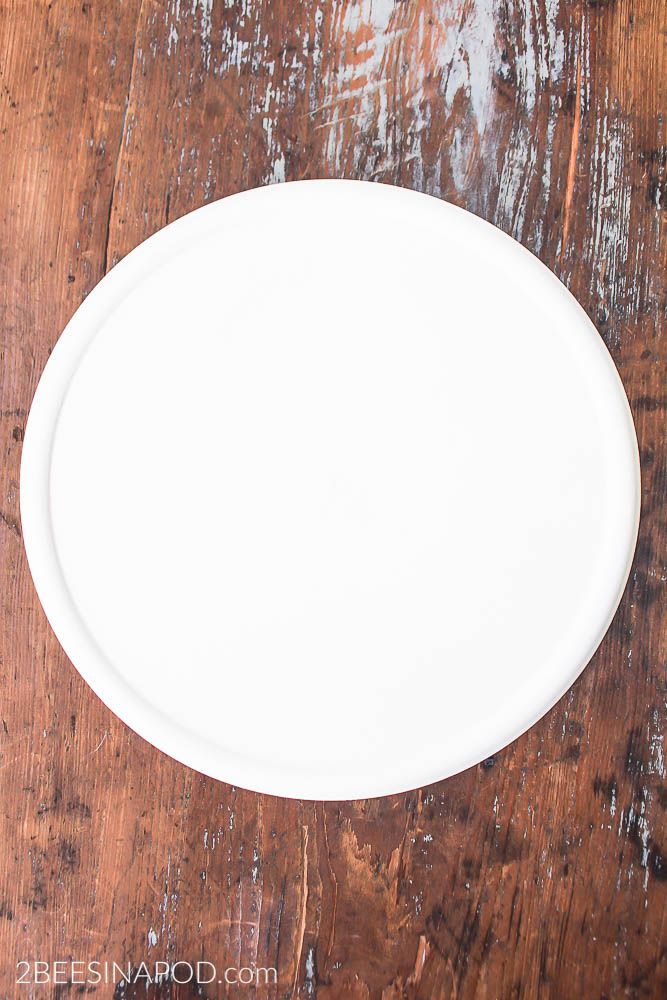
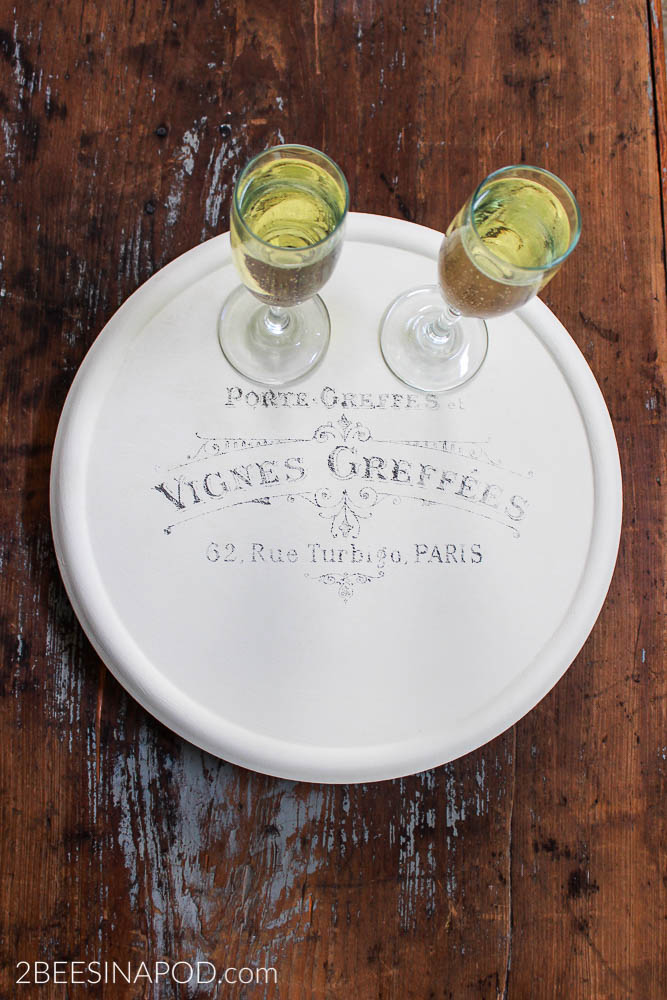
The following tutorial is done on a wooden lazy Susan that the women found while thrifting. You can create your images on any wood surface, so don’t be detoured!
They started by painting the wood. They used two coats of Old White chalk paint (and holy moly is it cute – I’m loving the chalk paint!).
Here’s where the fun starts! You only need a couple of items for this project. I used a graphic from one of my favorite sites Graphics Fairy.
LET’S GET STARTED!
SUPPLIES:
- Wood item that your graphic will be placed on
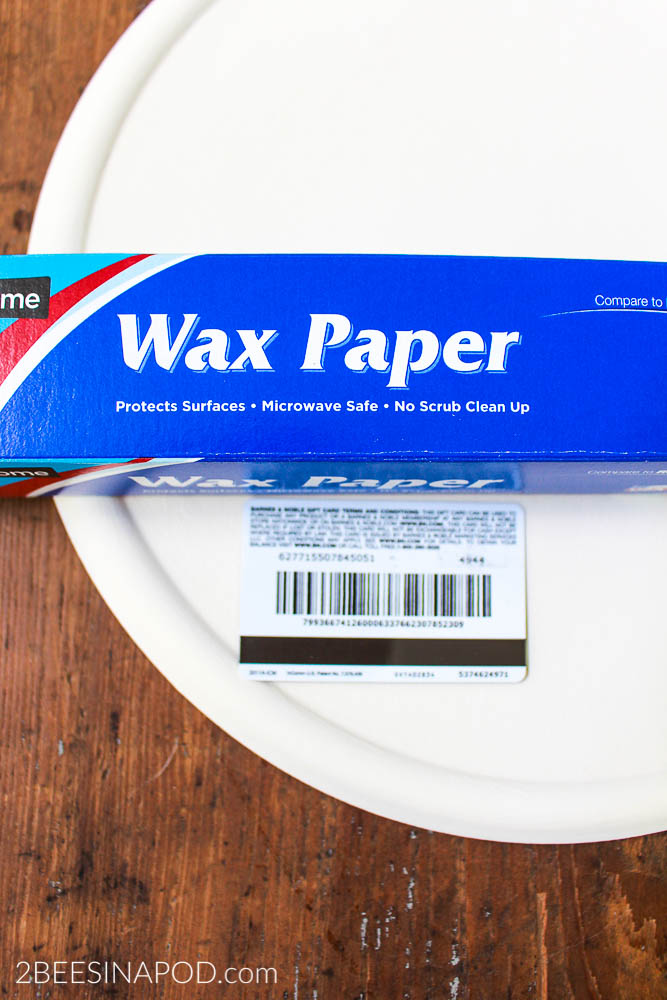
- Wax paper
- Scissors
- Graphic of your choice
- Credit card
THIS IS HOW YOU DO IT:
- Cut wax paper sheet to match your printer paper size. Mine is 8 ½ x 11.
- Print your chosen graphic in reverse, or mirror image.
- Be very careful that your wax paper does not wrinkle.
- The ink is very wet so use caution so that you do smudge it.
- Move quickly while the ink is wet.
- Line the wax paper up and lay it in place on the wood. Do not move it again.
- Hold the wax paper firmly in place.
- Use the credit card to scrape the ink onto the wood.
- Carefully remove the wax paper – do not smudge the ink
YOU CAN SEE A TUTORIAL BELOW TO SEE HOW EASY IT IS.
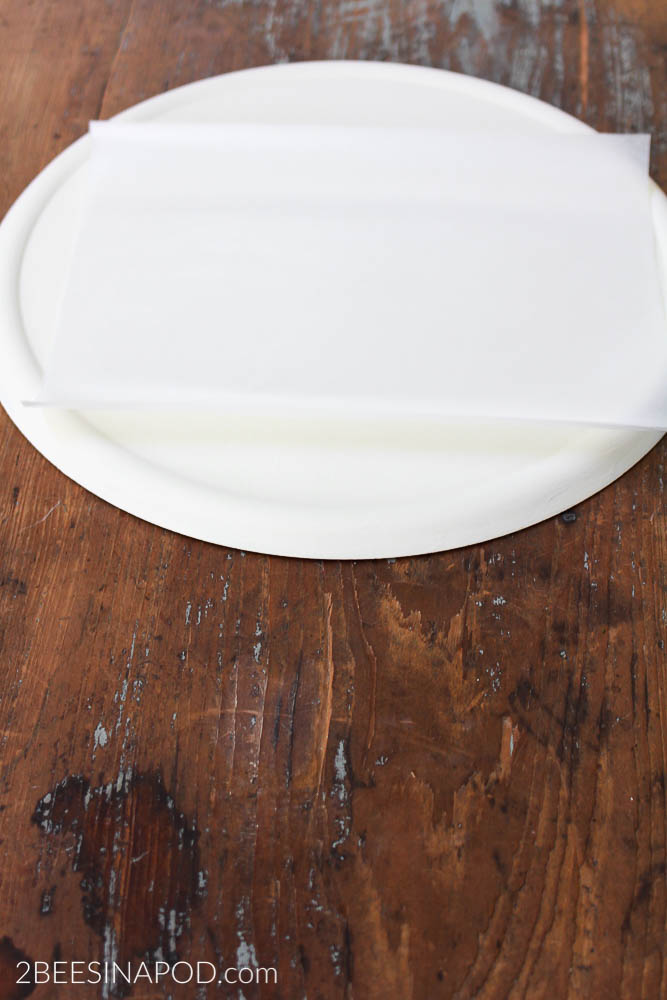
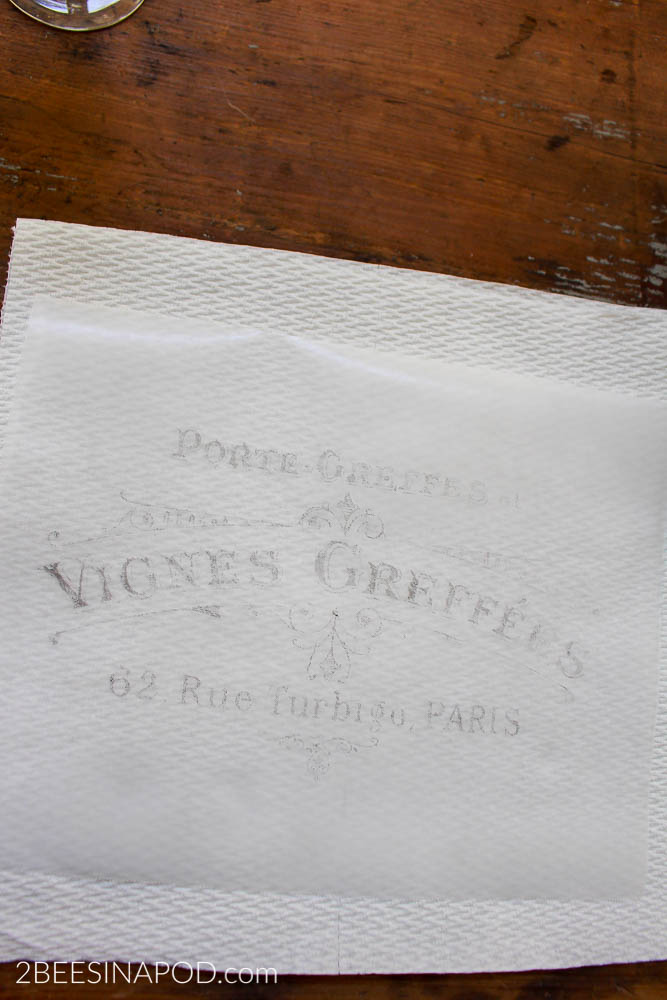
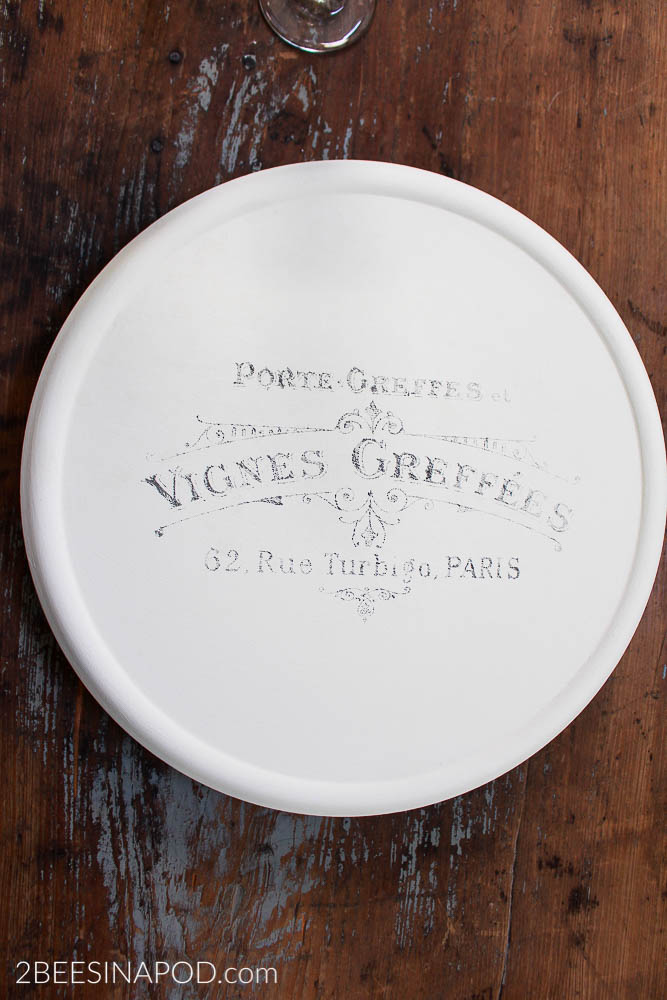
After the appropriate drying time I carefully and gently applied a light coat of clear wax. Some people have had issues with smearing ink graphics while applying sealers so use caution.
