Upcycle Is The New Recycle
#DIYThursday
Paint Chip Calendar… Without The Mess!
I don’t know about you, but hanging a fun calendar in my office or mud room makes me happy. That being said, I don’t necessarily want a picture or some random cat hanging on my wall so I was pretty excited when I found this cool calendar #DIY.
Not only is it incredibly easy to make, it’s pretty dang inexpensive. Like most of the DIY’s we talk about, this one is completely customizable. If you recreate the tutorial below, you’ll end up with a somewhat modern-looking calendar. If modern isn’t you’re thing, try using different colors and a different frame, like this one from Michael’s:

Also, this calendar is designed to show 3 months at a time. When I build mine, I’ll probably go with more neutral colors, a vintage-inspired frame, and only show 2 moths (I have a pretty hard time committing to anything 3 months in advance).
To check out the original article, click here.
Here it goes! HAVE FUN! 🙂
Paint Chip Calendar
3 Materials | $20 | 2 Hours | Easy
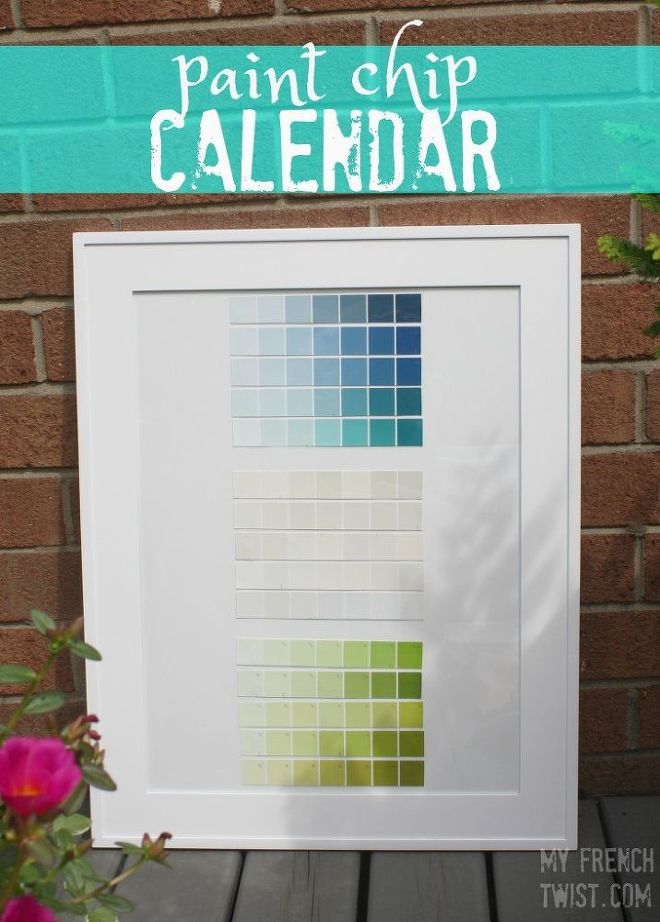
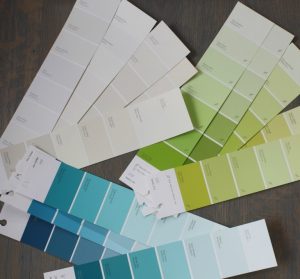
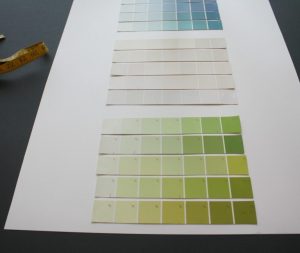
First, select the paint strips that you want from your local hardware or paint supply store. I decided to use 3 color waves, one for each month. Each strip showcased 7 paint blocks, one for each day of the week.
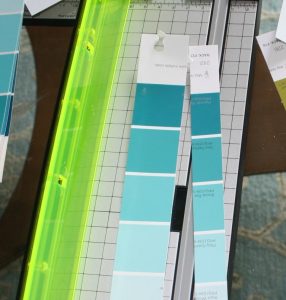
Next, I trimmed each strip, using a paper cutter. I tried to cut most of the writing off the strip.
I bought a ready-to-use frame from Michael’s. I thought a simple white one would give a modern look. I then cut a piece of white poster board to fit the frame. I glued the paint strips to the poster board, arranging them in 3 color blocks.
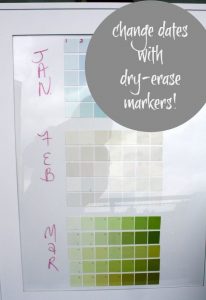
After putting the frame back together, all I need to do is to buy a black dry-erase pen. Months, days, and even additional notes can be added to the calendar as needed (just write on top of the glass – it wipes off easily!)
